How to Fix Windows 11 Update Error 0x80070002 (Step-by-Step)

David Sterling
Lead Technical Editor
Windows 11 updates are designed to install seamlessly in the background, but encountering Error 0x80070002 can bring critical security and feature updates to a sudden halt. In the official Windows Error Code Reference, this hexadecimal code corresponds directly to ERROR_FILE_NOT_FOUND.
This indicates that while the update client downloaded the update manifest, one or more installation packages, temporary CAB files, or registry keys could not be found or became damaged in transit.
Below is the verified, zero-risk troubleshooting procedure used by IT administrators to purge corrupted staging caches and successfully restore Windows Update functionality.
Symptoms of Error 0x80070002
You are dealing with error 0x80070002 if your PC demonstrates any of the following behavior:
- The update reaches a certain percentage (commonly 20%, 73%, or 100%) in Settings > Windows Update and displays: “There were some problems installing updates, but we’ll try again later. Error 0x80070002.”
- Restarting the PC begins applying the update, but reverts changes with the message: “Something didn’t go as planned. No need to worry—undoing changes.”
- Event Viewer logs show event ID 20 under
Microsoft-Windows-WindowsUpdateClientwith result code0x80070002.
Common Causes
Understanding why this occurs prevents future occurrences:
- Corrupted Update Download Cache: Incomplete downloads caused by Wi-Fi drops or sudden power interruptions leave half-written files inside
C:\Windows\SoftwareDistribution. - Damaged Cryptographic Services Database: The
catroot2catalog database, which verifies digital signatures for updates, contains mismatched hash entries. - Component Store Corruption: The Windows Component Store (
WinSxS) has missing manifests or corrupted package pointers. - Incorrect Date & Time Configuration: If your motherboard CMOS battery or local Windows clock drifts by more than several minutes, SSL handshake checks against Microsoft Update servers fail.
Solution 1: Verify Date, Time, and Region Settings
Before touching service configurations or system files, verify your time synchronization. Mismatched time stamps trigger digital signature verification failures.
- Right-click the clock in the bottom-right corner of your taskbar and select Adjust date and time.
- Ensure Set time automatically is toggled On.
- Under Additional settings, click Sync now. Wait until a green checkmark appears confirming time synchronization with
time.windows.com. - Go back to Settings > Windows Update and click Check for updates.
Solution 2: Run the Built-in Windows Update Troubleshooter
Windows 11 features an automated diagnostics utility that detects common permission issues and stale services.
- Open Settings (press
Windows Key + I). - Navigate to System > Troubleshoot > Other troubleshooters.
- Locate Windows Update and click Run.
- Allow the utility to inspect registry permissions, network connections, and background services. If fixes are applied, restart your computer and retry the update.
Solution 3: Reset the SoftwareDistribution and Catroot2 Caches (Most Effective)
When update packages become corrupted in the staging folder, Windows Update continuously attempts to execute damaged files. Renaming these folders forces Windows to create fresh directories from scratch.
Important Safety Note: Do not manually delete these folders while their respective background services are running. Follow the exact command sequence below in an elevated terminal.
Step 1: Open Terminal as Administrator
Press Windows Key + X and select Terminal (Admin) or PowerShell (Admin).
Step 2: Stop Windows Update Services
Run the following four commands sequentially:
net stop wuauserv
net stop cryptSvc
net stop bits
net stop msiserver
Each service should report: “The service was stopped successfully.”
Step 3: Rename the Stale Cache Directories
Execute these two rename commands:
ren C:\Windows\SoftwareDistribution SoftwareDistribution.old
ren C:\Windows\System32\catroot2 catroot2.old
Step 4: Restart the Services
Start the services again with clean state:
net start wuauserv
net start cryptSvc
net start bits
net start msiserver
Close the terminal window, wait 60 seconds, and navigate to Settings > Windows Update > Check for updates. Windows will now download a clean copy of the required update files.
Solution 4: Repair the Windows Component Store Using DISM & SFC
If renaming the cache does not resolve the error, the underlying Windows system files or component store (WinSxS) may be corrupted. Use Microsoft’s official Deployment Image Servicing and Management (DISM) tool followed by System File Checker (SFC).
- Press
Windows Key + Xand choose Terminal (Admin). - Run the DISM health scan first:
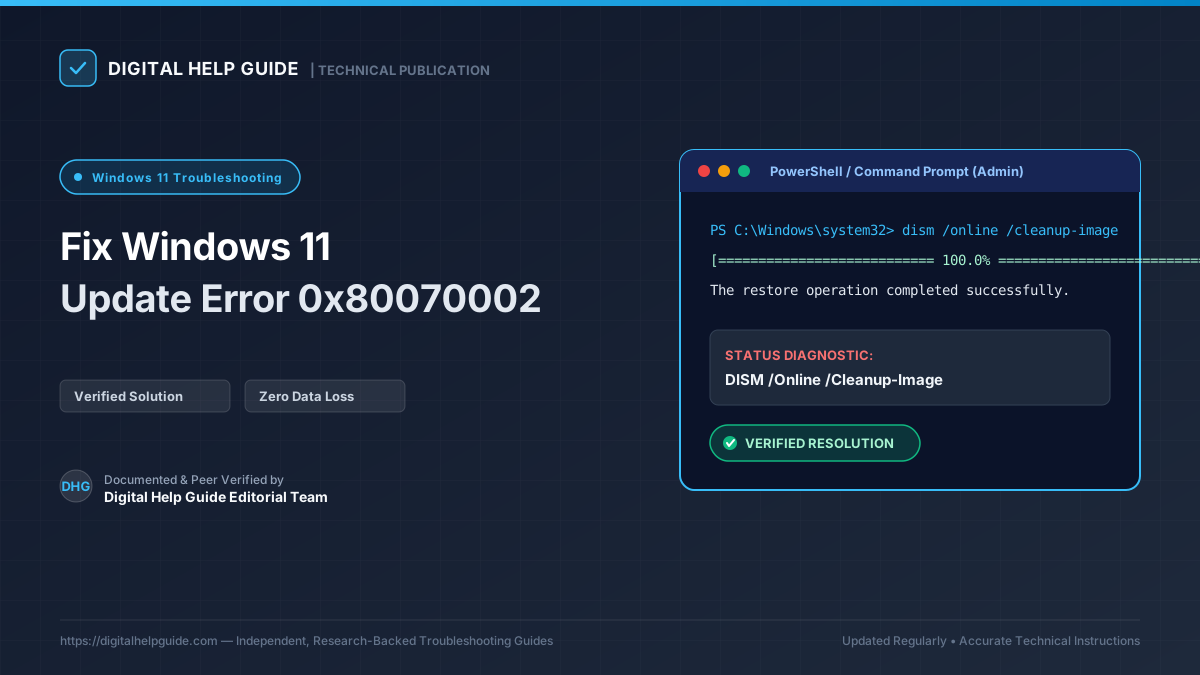
DISM /Online /Cleanup-Image /ScanHealth - If corruption is detected, execute the repair command using online Windows Update bits as the repair source:
Note: This process may take 10 to 20 minutes to reach 100%. Do not close the window.DISM /Online /Cleanup-Image /RestoreHealth - Once DISM finishes with “The restore operation completed successfully,” execute the system file repair tool:
sfc /scannow - When complete, restart your PC.
Advanced Troubleshooting: Manual Installation via Microsoft Update Catalog
If a specific monthly cumulative update (for example, KB5034765) consistently fails with 0x80070002, you can bypass the Windows Update client entirely:
- Identify the KB number of the failing update from the Windows Update error screen.
- Open your web browser and visit the official Microsoft Update Catalog.
- Search for the exact KB number in the search bar.
- Download the
.msufile matching your system architecture (typicallyx64-based SystemsorARM64-based Systems). - Double-click the downloaded standalone
.msupackage to install the update directly.
Summary Checklist
| Action Step | Time Required | Risk Level | Expected Outcome |
|---|---|---|---|
| Sync System Clock | 1 minute | Zero | Resolves certificate & SSL timestamp mismatches |
| Update Troubleshooter | 3 minutes | Zero | Repairs missing registry service keys |
| Reset Cache Folders | 4 minutes | Zero | Forces fresh download of update files |
| DISM & SFC Scan | 15 minutes | Low | Replaces damaged system binaries from clean manifest |
| Manual Catalog Install | 5 minutes | Zero | Bypasses local updater mechanism entirely |
If after all these steps the error persists, check whether your primary storage drive has at least 20 GB of free space, as cumulative updates require sufficient temporary uncompressed staging capacity.
Frequently Asked Questions
Does resetting SoftwareDistribution delete personal files?
No. The SoftwareDistribution folder only holds temporary installation and download payloads for Windows updates. Windows will regenerate the folder automatically and redownload clean update files.
Why does error 0x80070002 happen repeatedly after rebooting?
Repeated failures usually point to corrupted Windows component store files that require DISM (Deployment Image Servicing and Management) repair, or an incorrect system time/date synchronisation issue.
Can a third-party antivirus cause 0x80070002?
Yes. Aggressive real-time file-system monitors can lock temporary update CAB files while Windows Update attempts to decompress them into the staging directory.
David Sterling
Lead Technical Editor Verified InstructionsSpecializing in operating system diagnostics, hardware drivers, and digital workflows. Guided by our strict Editorial Policy to ensure safe, reproducible procedures.
Last tested and verified on: March 2026
Authoritative Sources & Citations
In accordance with our strict Research Methodology, every technical instruction is cross-verified against official vendor documentation.
- 1Official SupportMicrosoft Support: Fix Windows Update Errorshttps://support.microsoft.com/en-us/windows/troubleshoot-problems-updating-windows-188c2b0f-10ac-433e-52ea-007776447701
- 2Technical DocsMicrosoft Learn: Windows Update Error Codes & Architecturehttps://learn.microsoft.com/en-us/windows/deployment/update/windows-update-error-reference
- 3Technical DocsWindows DISM & System File Checker Documentationhttps://learn.microsoft.com/en-us/windows-hardware/manufacture/desktop/what-is-dism